
Hallo!
About 2 months ago, I got an opportunity to interview a Bobbi Brown makeup artist from Thailand. We talked and talked and all of the sudden, he told me he would do my makeup. Now, I had on full makeup with foundation and everything. Yet, he took it off and redid my makeup with BB products. Then, he took a look at my eyeliners and he was like, "This is too harsh on you. Let me show you how to do soft liner!"
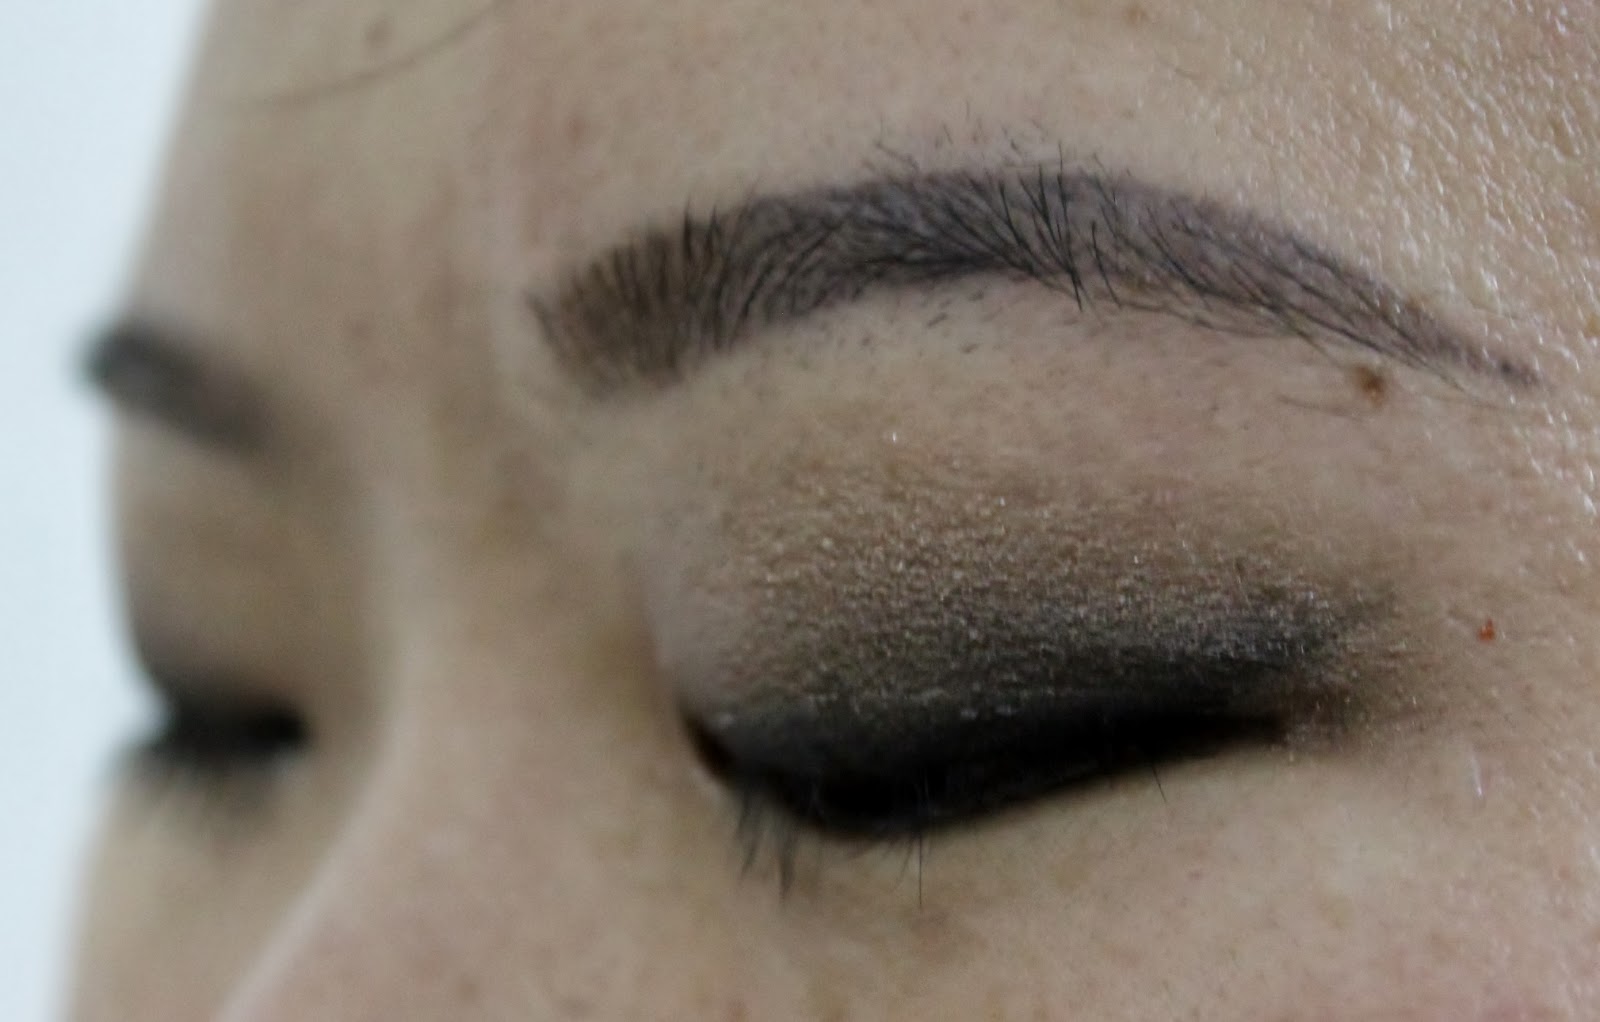
And then came this look. It has a soft grunge edge that I like and you totally don't see a line because I already smudged it out. One of these days, Imma buy a tripod and do a tutorial on this.

While soft liners are very feminine and nice, sharp, crisp liners are always modern. I got me a liquid liner from Maybelline that's really black and shiny. On top of that, it has incredible staying power. While it doesn't look much in the pictures, I had quite a thick line.
Now, for those of you who have problem with they staying power of your eyeliner, I have a small tip: it's called layering! For the sharp liner look, I didn't even use an eye shadow base at all. Yet, it stayed for hours and hours without even a smudge or a smear. And you wanna know why?
I lined my eyes with a waterproof pencil liner first.
Yes, that's the tip, sweetheart. I did that to give myself a guide before using my liquid liner. While pencil liner is easier to use and wipe away, the smudge/waterproof formula is actually a nice base for the liquid liner to hold on to. If you take as much time as you can on lining with a pencil, the later part is going to be very easy. On top of that, your lines will look incredibly black, which is an obvious result from layering a black liner on top of a black base.


Also, did you notice how long and dolly my lashes look? 100% real lashes, baby, with the help of mascaras, of course! I'll share a secret on another day.
Ciao, sweetheart!
Dao xoxo
P.S: Please show your support by following my blog and subscribing to my feed. Thanks a lot!
About 2 months ago, I got an opportunity to interview a Bobbi Brown makeup artist from Thailand. We talked and talked and all of the sudden, he told me he would do my makeup. Now, I had on full makeup with foundation and everything. Yet, he took it off and redid my makeup with BB products. Then, he took a look at my eyeliners and he was like, "This is too harsh on you. Let me show you how to do soft liner!"
And then came this look. It has a soft grunge edge that I like and you totally don't see a line because I already smudged it out. One of these days, Imma buy a tripod and do a tutorial on this.
While soft liners are very feminine and nice, sharp, crisp liners are always modern. I got me a liquid liner from Maybelline that's really black and shiny. On top of that, it has incredible staying power. While it doesn't look much in the pictures, I had quite a thick line.
Now, for those of you who have problem with they staying power of your eyeliner, I have a small tip: it's called layering! For the sharp liner look, I didn't even use an eye shadow base at all. Yet, it stayed for hours and hours without even a smudge or a smear. And you wanna know why?
I lined my eyes with a waterproof pencil liner first.
Yes, that's the tip, sweetheart. I did that to give myself a guide before using my liquid liner. While pencil liner is easier to use and wipe away, the smudge/waterproof formula is actually a nice base for the liquid liner to hold on to. If you take as much time as you can on lining with a pencil, the later part is going to be very easy. On top of that, your lines will look incredibly black, which is an obvious result from layering a black liner on top of a black base.


Also, did you notice how long and dolly my lashes look? 100% real lashes, baby, with the help of mascaras, of course! I'll share a secret on another day.
Ciao, sweetheart!
Dao xoxo
P.S: Please show your support by following my blog and
subscribing to my feed. Thanks a lot!

